Inspired by a project from a fellow Youtuber, I got interested in creating a model of the world using 3D printing. Not only having a physical model of a region sounded promising, but I also wanted to incorporate real topographic data into the model. I searched online for existing models but found nothing that fitted my needs.
So instead I informed myself about sources for 3D heightmaps of the world, where to get them, and how to process them so that I can import them into my favorite modeling software for further adaption. I tested different approaches until I settled on a final one, that goes as follows:
1. Create and Preprocess STL File
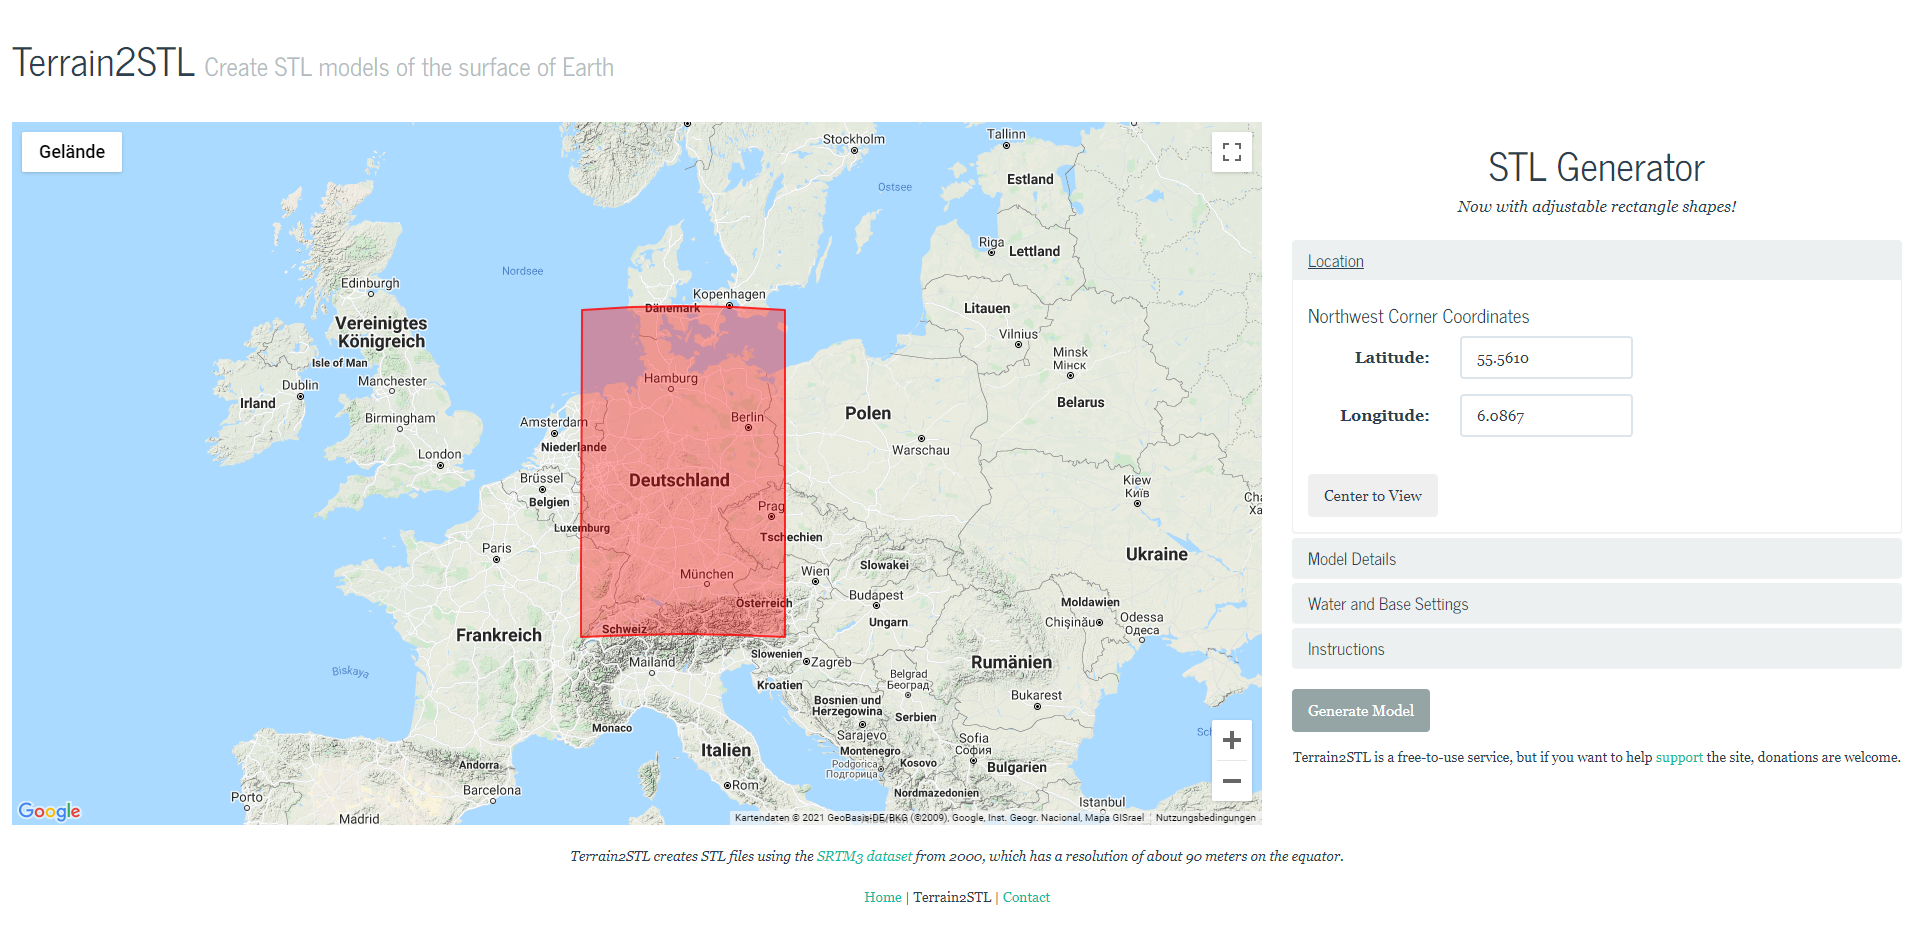
For my approach, the Terrain2STL tool worked the best. It lets you pick a relatively big region of the world that barely fits Germany. All parameters need to be adjusted according to one’s wishes, especially the vertical scaling, the water drop, and the base height need to be chosen wisely. In the end, you can download an STL file containing all the required topographical data.
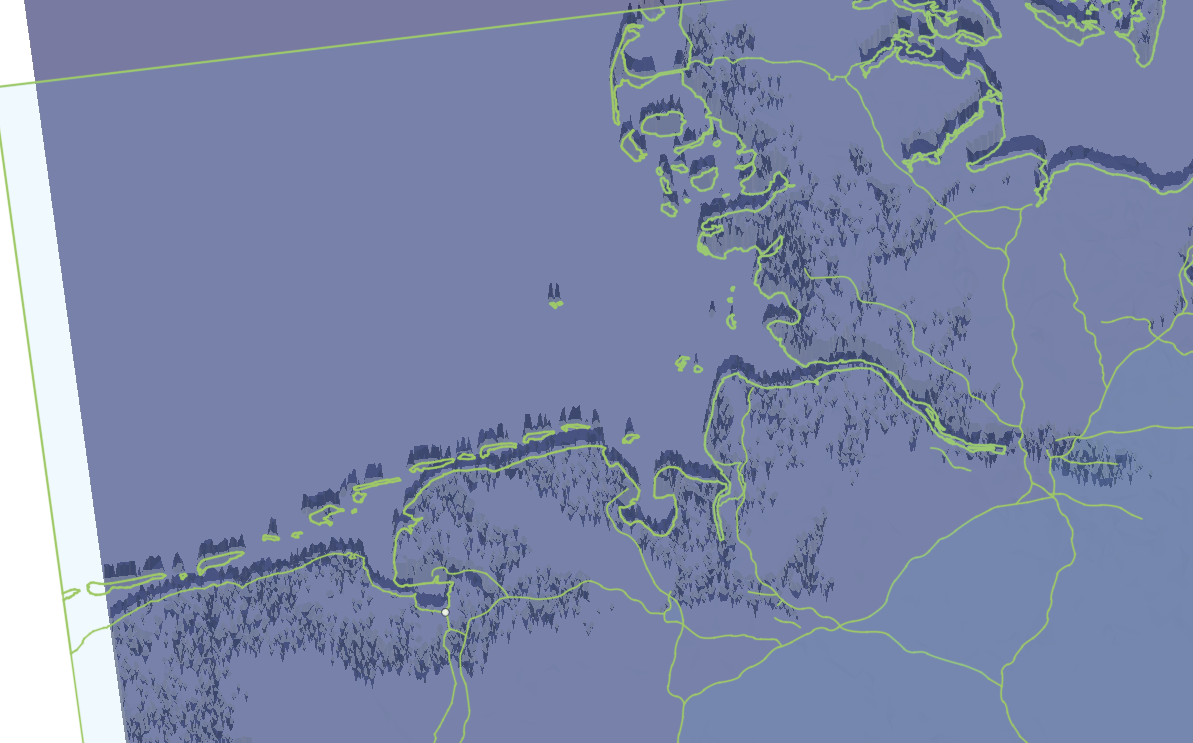
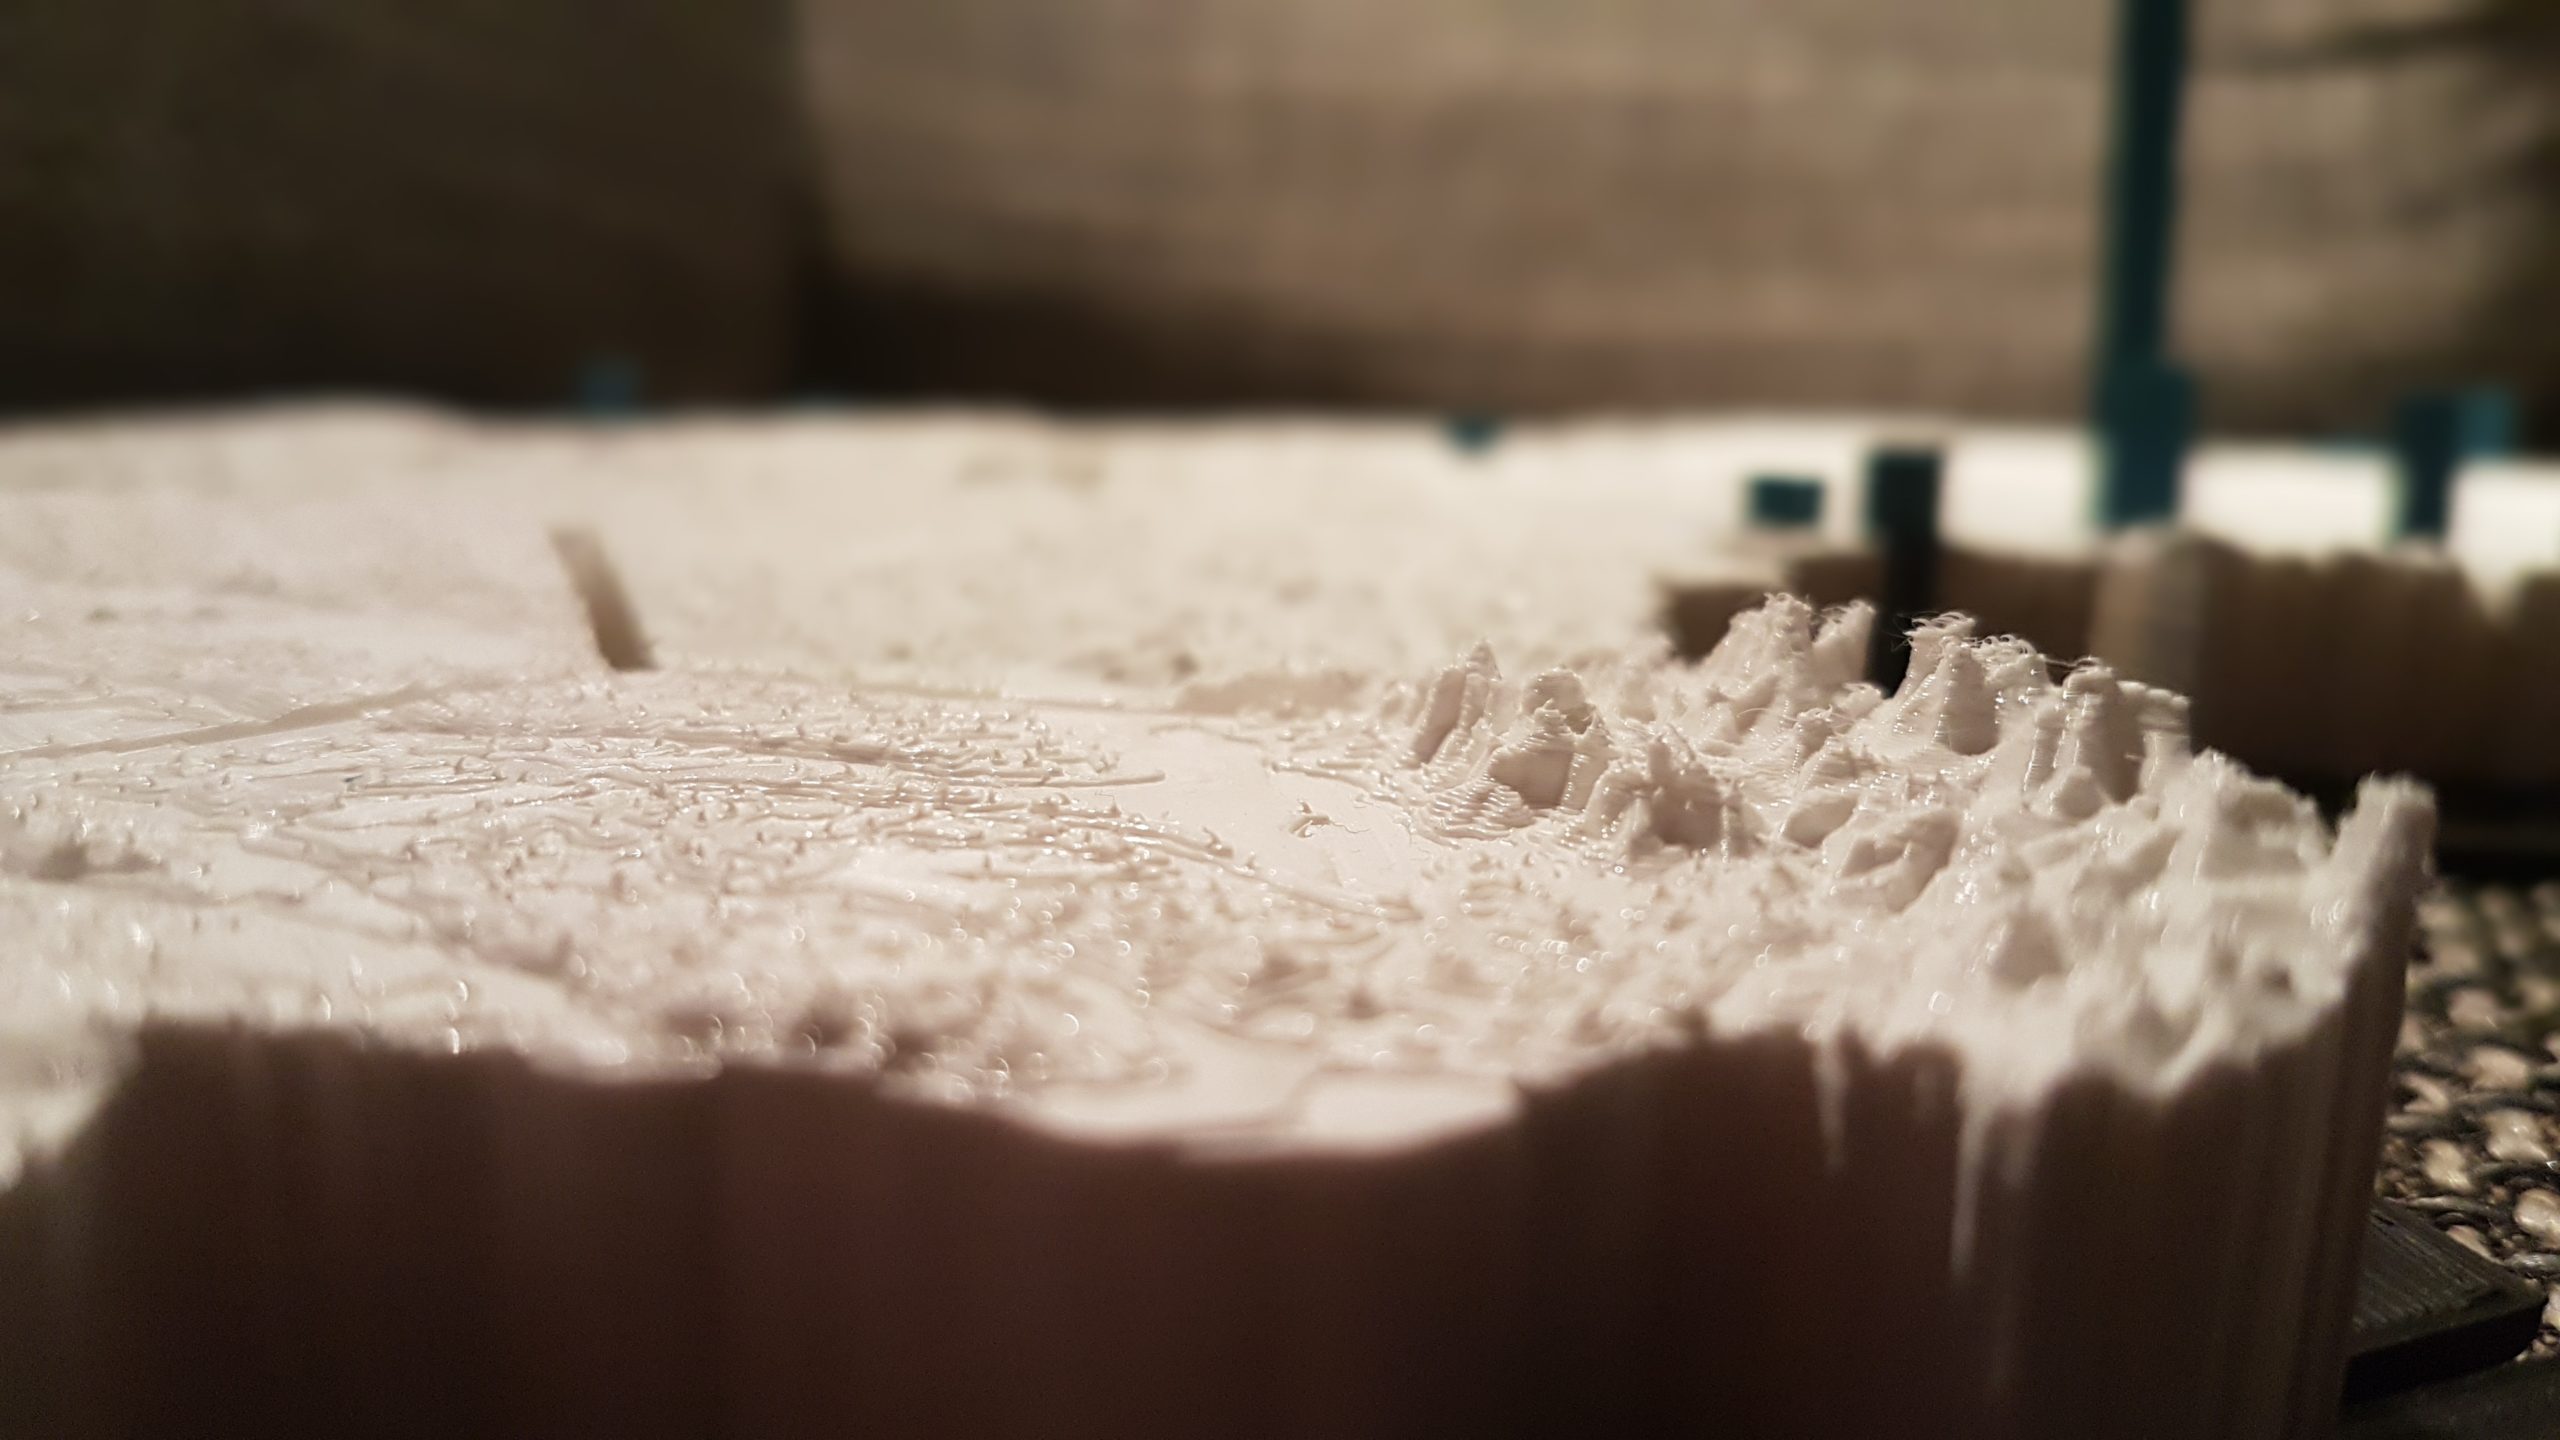
Next, I opened the 3D model in Blender for preprocessing. I had to fix holes in the mesh and further adjusted the vertical scaling to highlight the mountain areas. Additionally, I had to drastically reduce the mesh’s resolution so it had “just” 750.000 vertices.
2. Import 3D Model into Fusion
I imported the resultant 3D model into Fusion360, my favorite modeling software. However, it is typically not made to work with complex meshes. I had to enable the Mesh Modeling option and disable its history function to be able to use the software. Next, I imported several SVG files I found online. A map containing the German states gave me the contour, a file of all highways helped to locate cities within the country, and a conventional map added even more details. The 3D model was skewed so that I had to manually fit it to the other files until everything lined up perfectly.
3. Subdivide Model

I divided the huge topography model into a regular hexagonal pattern. This was necessary for three reasons: First, Fusion360 cannot convert meshes with more than 20.000 vertices into solid bodies that are needed for further modeling. Second, I really like the look of the hexagonal pieces and how topographical details stretch from one piece to another. Third, the subdivisions result in parts that are printable in less than 8 hours each and that would fit on my print bed.
I create a sketch with the regular hexagonal pattern and used it to cut copies of the original model into individual chunks. Fusion360’s slicing tool helped to fill the cut faces with minimal triangles.
4. Add Connectors
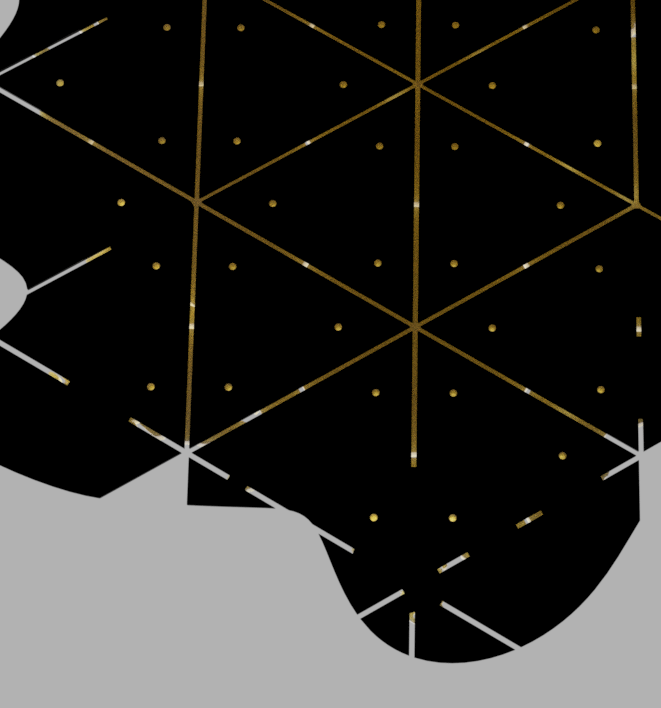
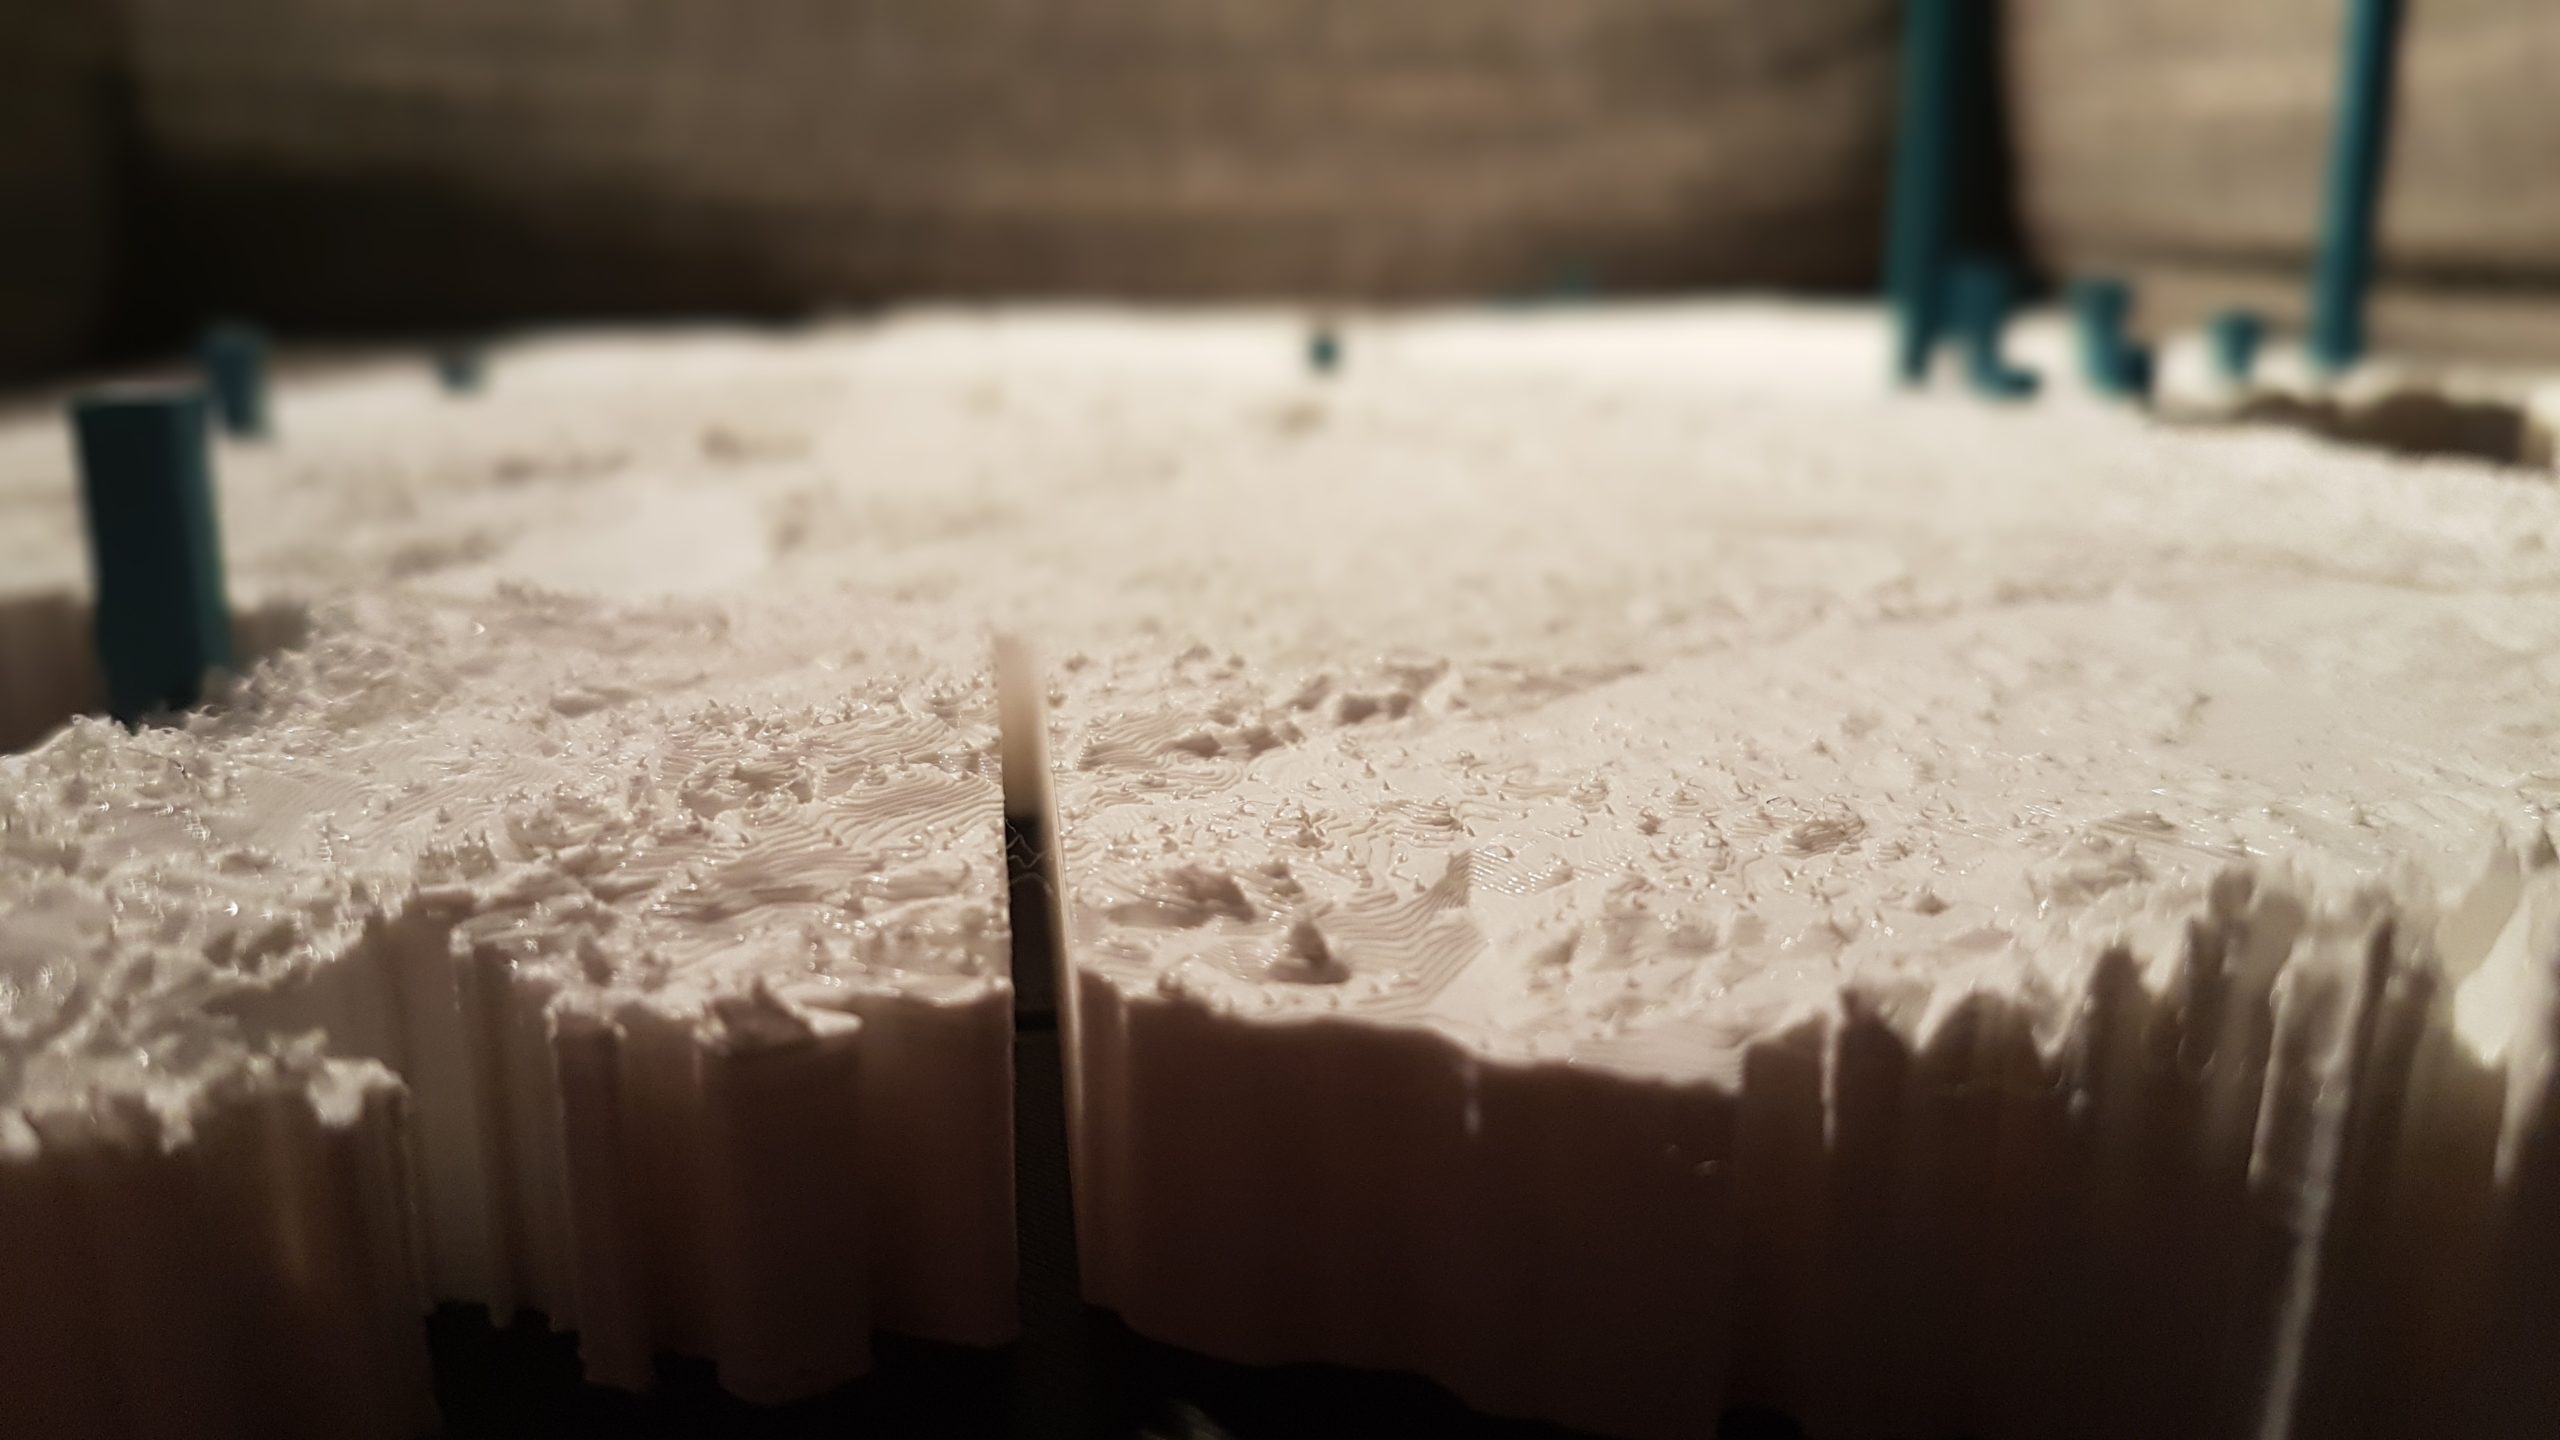
To later connect the individual parts, I came up with a triangular structure. Thin 3D printed parts will connect neighboring tiles using tiny M3 bolts. Respective threads are directly embedded in the 3D printed hexagons.
In some regions, I had to create bigger connectors, as triangles would barely overlap or would not have enough space for a mounting screw. I tried to hide these bridgings so that it looks like a regular pattern from above.
5. Add Something Personal
Parts of my profession are data visualizations. An emerging interest relates to so-called Data Physicalizations in which data is mapped to the physical properties of a real-world object. They help people explore, understand, and communicate data.
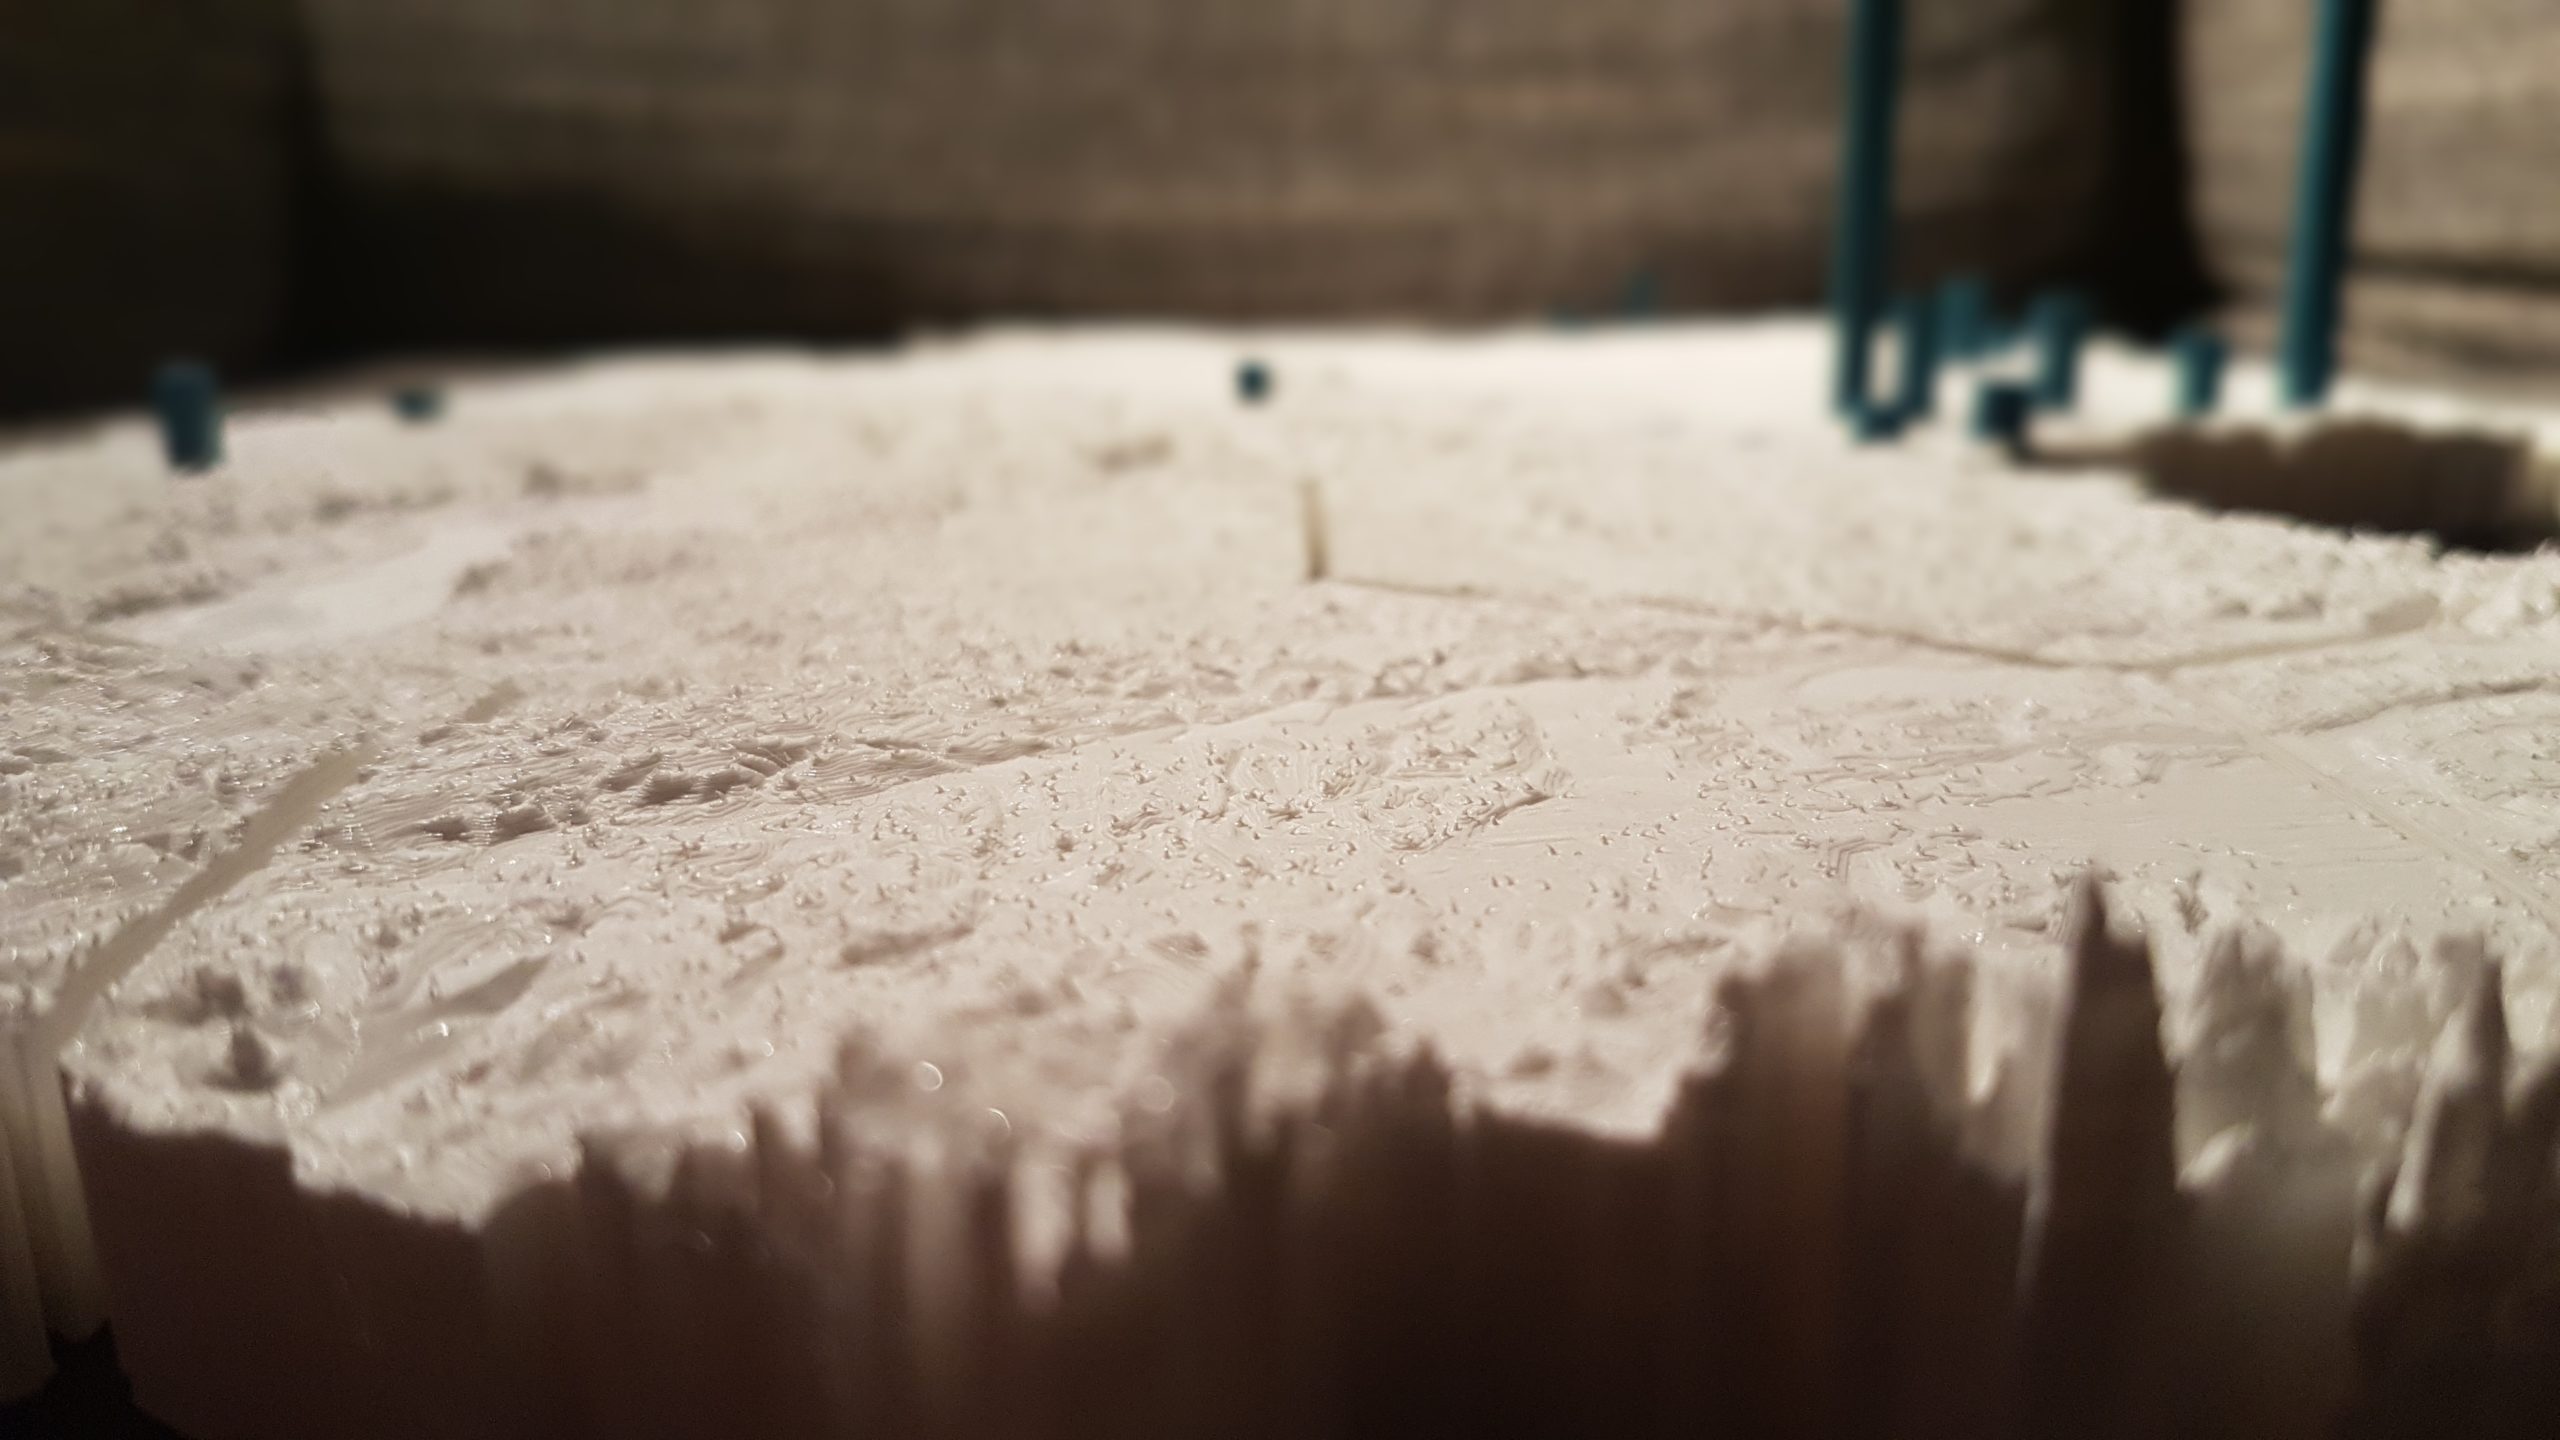
For my model, I wanted to add personally relevant data with spatial reference to the model. I added respective data as a physical bar chart distributed all over the model of Germany and the bars’ heights encode the data entries’ value.
These bars are embedded in the hexagons and 3D printed using colored PLA. The rapid manufacturing method allows for later adding more chart data by reprinting affected parts.
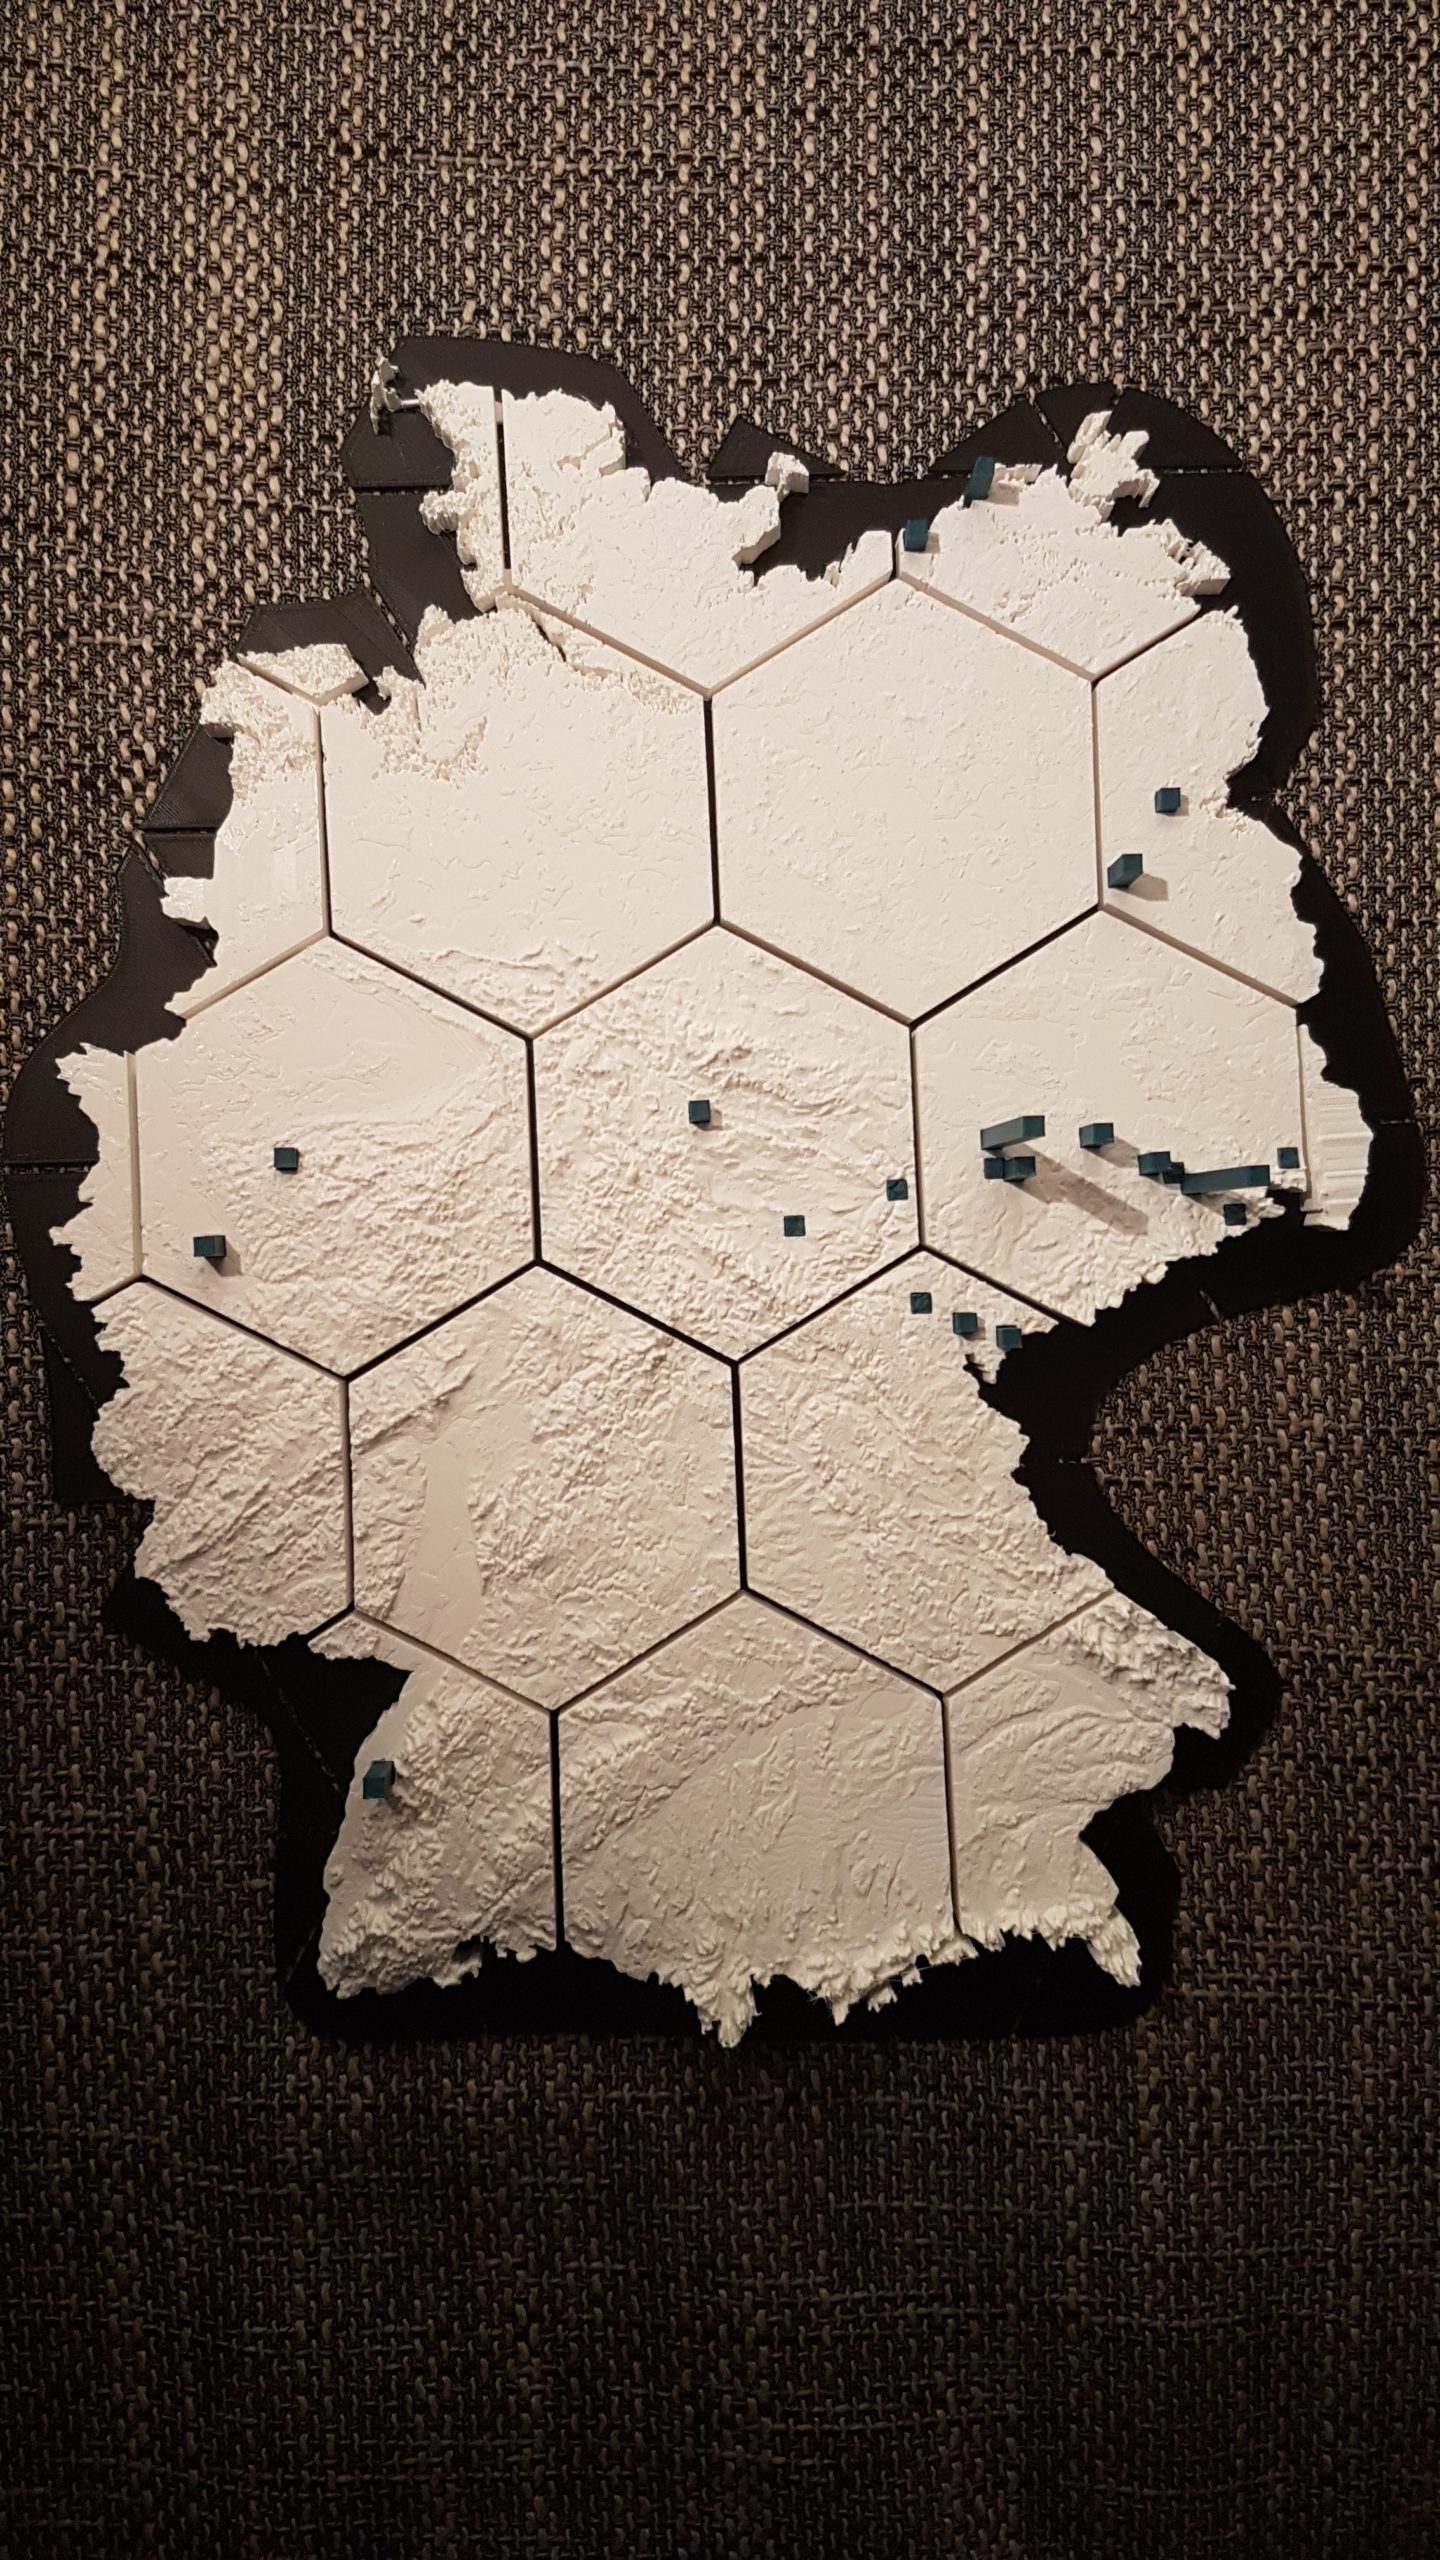
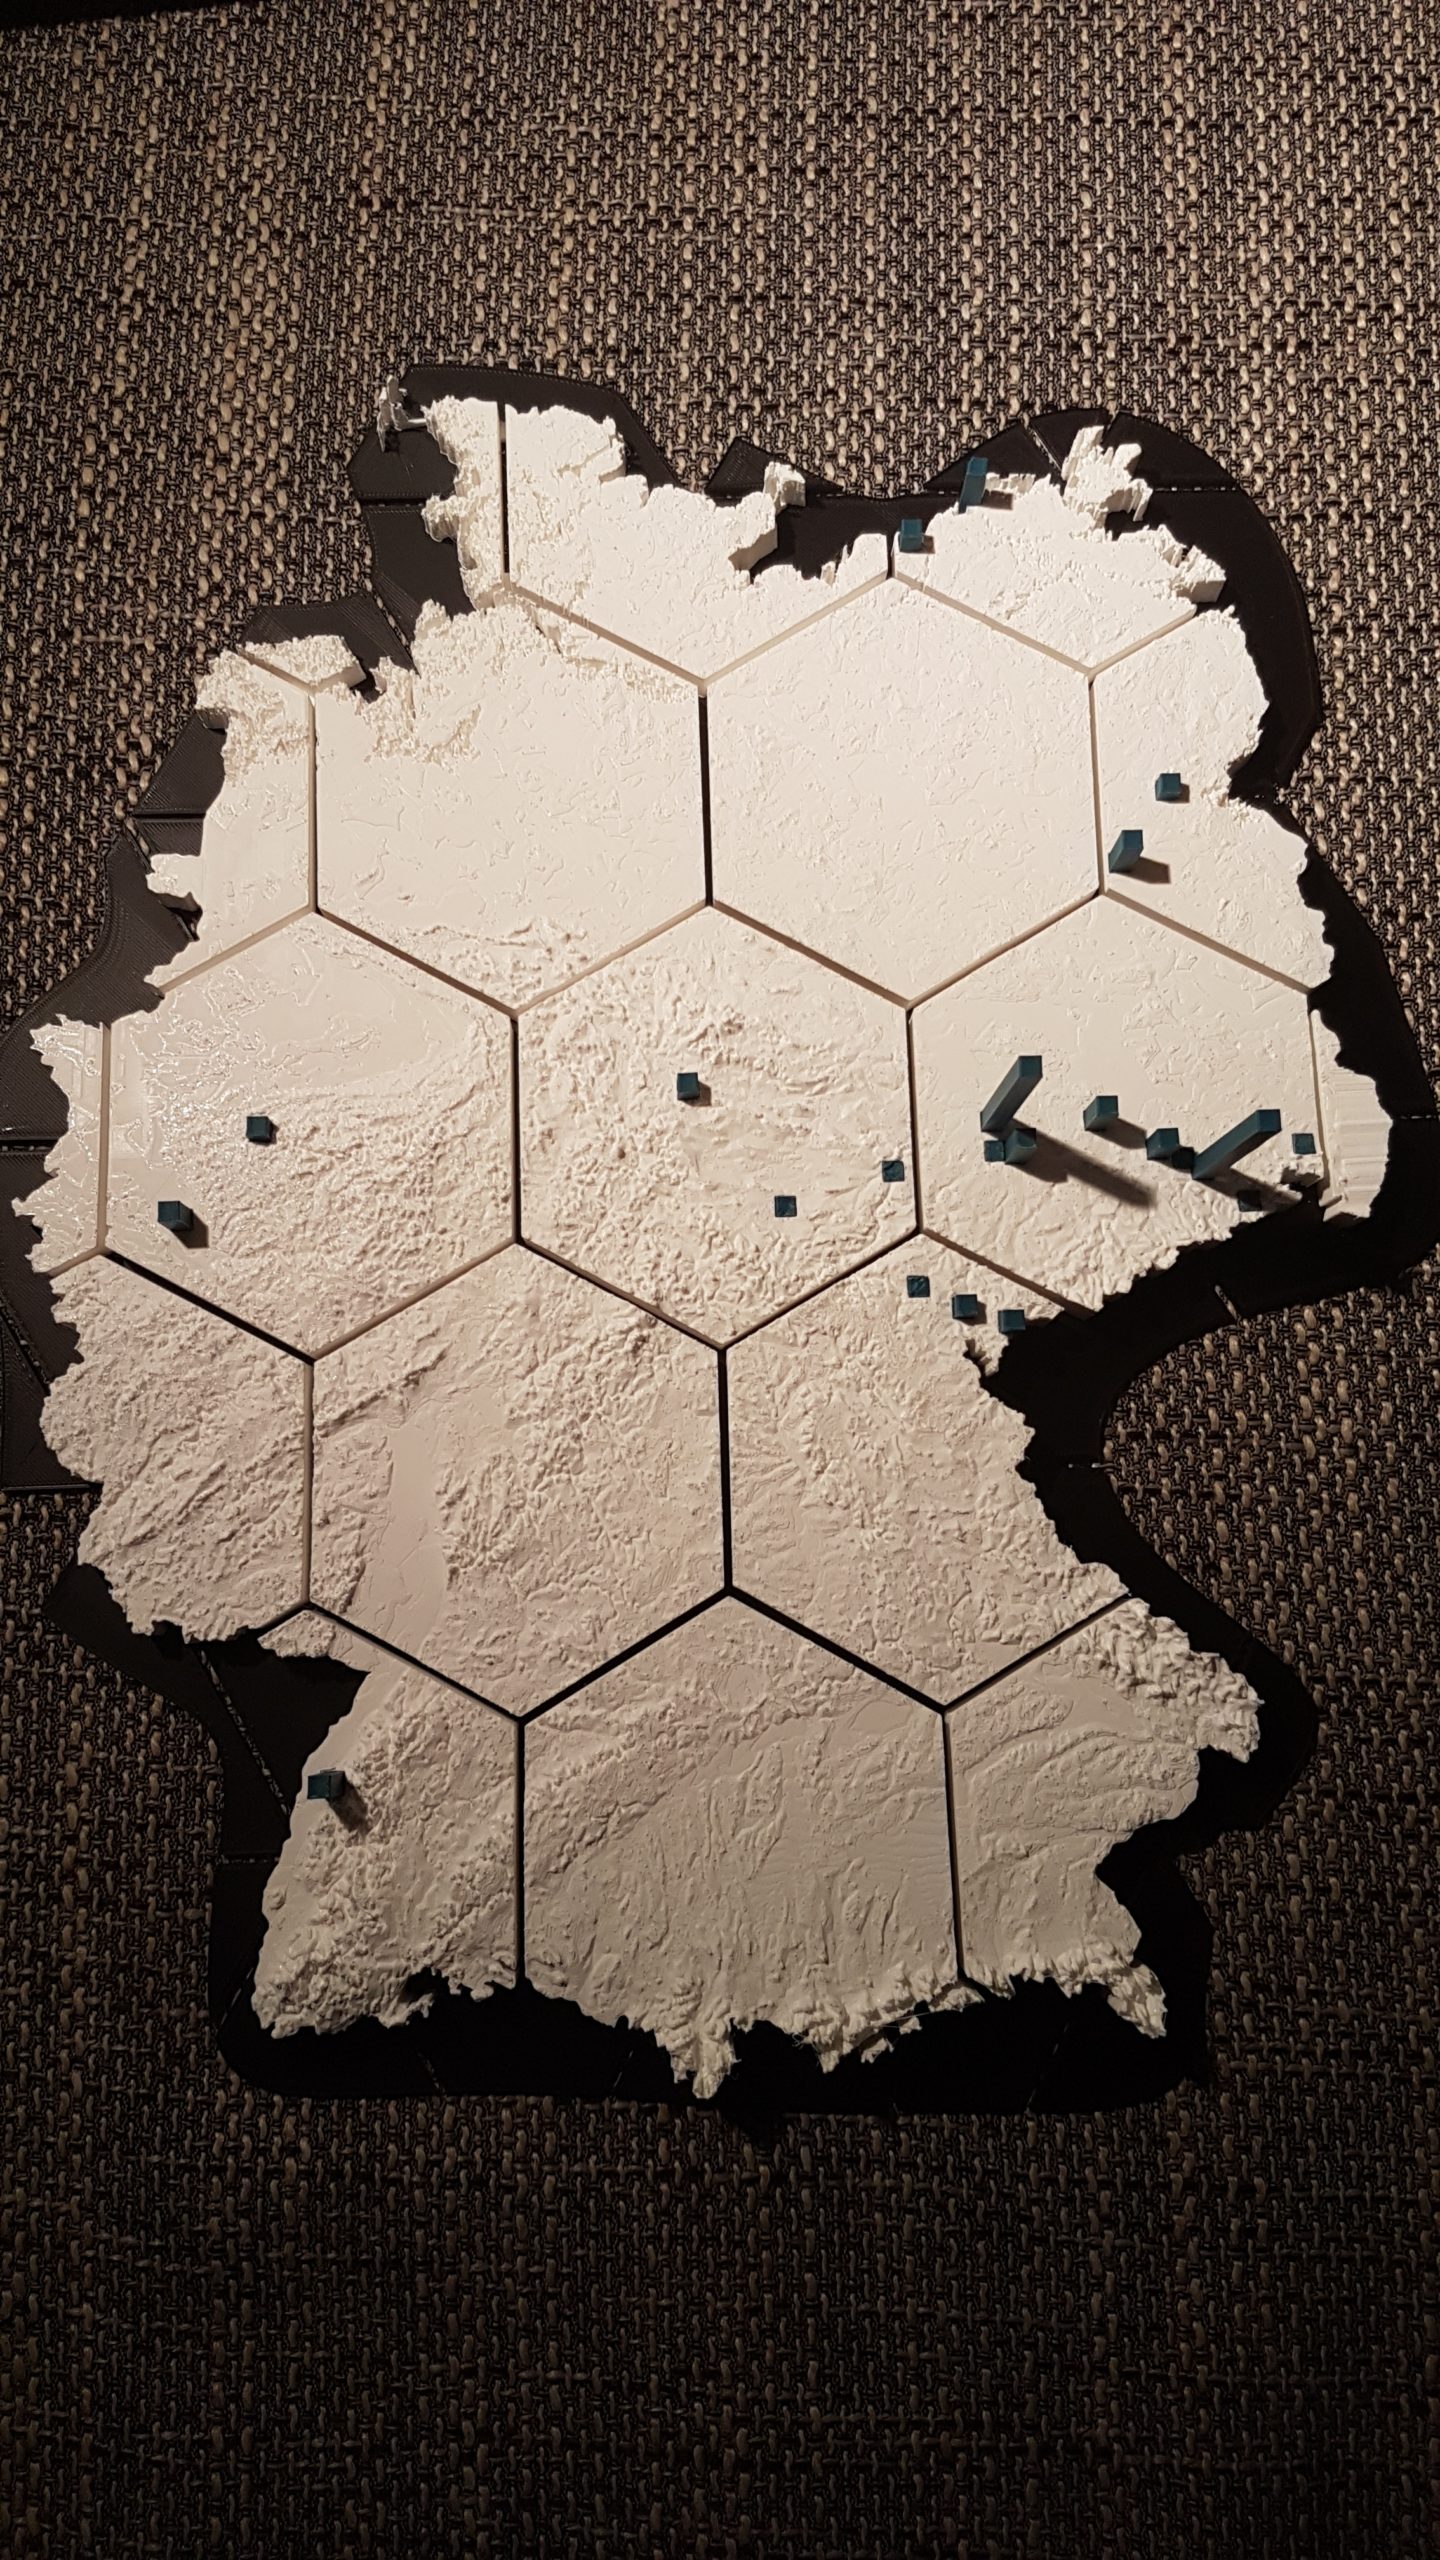
That’s it. In the end, I had to print approximately 100 hours to create all the required parts. I manually assembled all parts into a 300x450mm model which now decorates a wall next to my home office desk.